
Use this guide to send one image or a group of images, video, audio, and files from an Oysterun Session. You will check the staged order, add one caption, send once, inspect the result, and understand when Oysterun stores a bounded display image instead of the full-size original.
Before you start
- Your Oysterun Host is connected and the target Session chat is open.
- The message composer shows the Attach files control and the Send message action.
- The files are available on your current device, and you are allowed to share every item with the Session's provider.
- You have retained your own full-resolution original when it matters. Oysterun is not an original-image archive.
Starting screen: open the relevant Session chat and scroll to the composer at the bottom.
1. Choose the media path that matches your goal
| File you choose | What Oysterun may upload | What to expect after Send |
|---|---|---|
| Large static JPEG, PNG, or WebP | A smaller display version when Oysterun can create one safely and it is smaller than the original | The same visual subject and aspect ratio, with no second full-size original stored for that message |
| A supported static image already within the display bound | The original file bytes; Oysterun does not upscale it | The image displays at its available dimensions |
| Animated GIF, animated WebP or PNG, HEIC/HEIF, or an image Oysterun cannot safely convert | The original file when the Session's upload limit allows it | The file can send, but a browser preview is not guaranteed for every format |
| Video, audio, or another non-image attachment | The original attachment under the normal upload limit | A playback control or downloadable file, depending on the format |
2. Send one image or media item
- Choose Attach files.
- In your device's file picker, choose one file and return to Oysterun.
- In the Files panel, confirm that the filename and local preview or file information match your selection. The Staged badge means the file has not been uploaded yet.
- If you chose the wrong file, use its Cancel Upload control or choose Remove, then select the correct file.
- Type an optional caption in the Send a message... composer.
- Choose Send message once.
3. Send several items as one grouped message
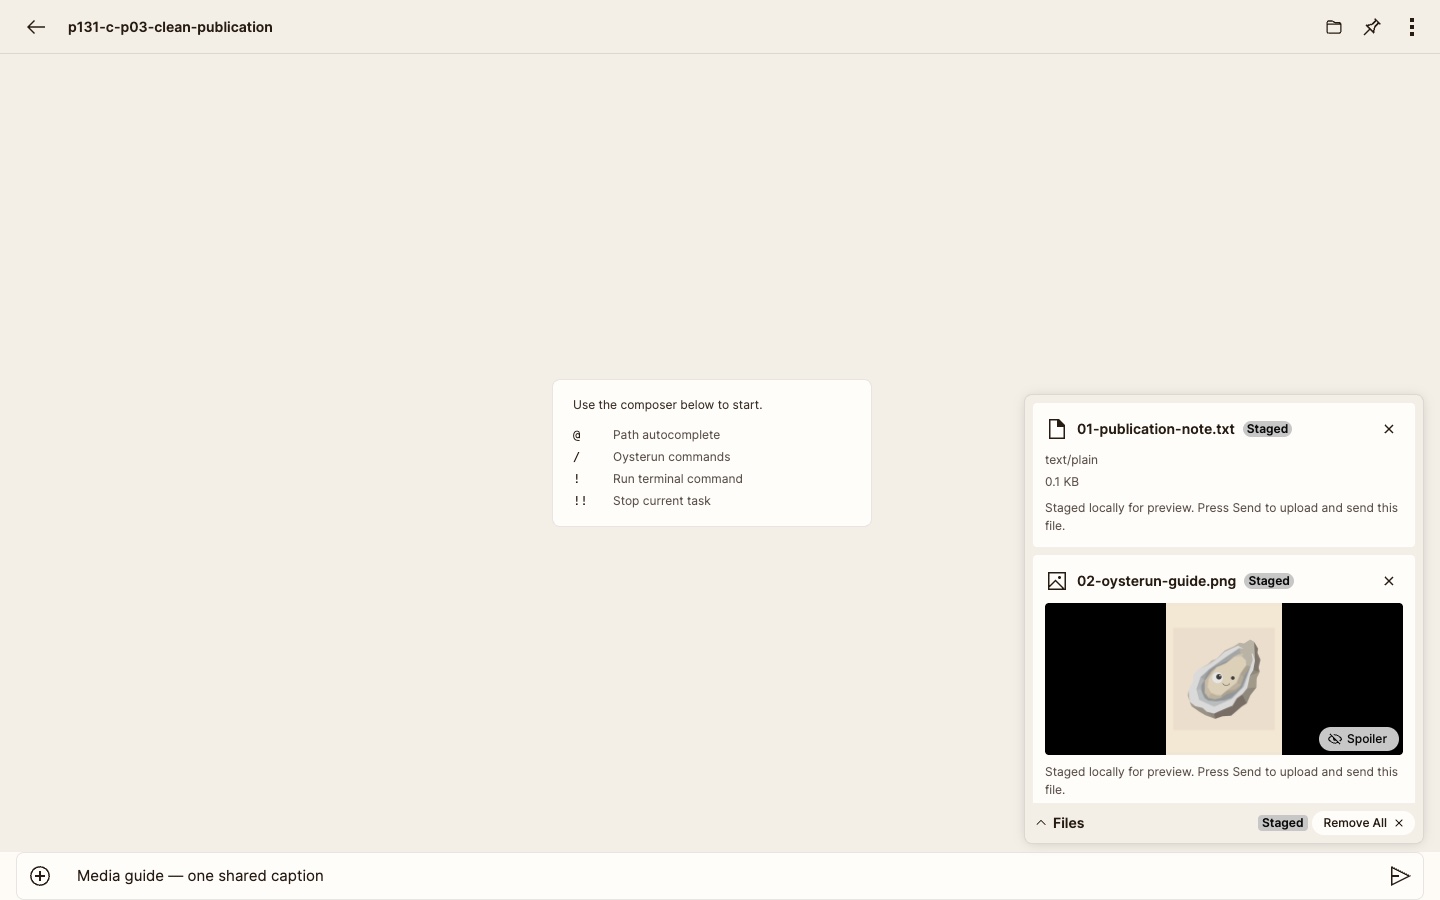
Inspect full-size screenshot
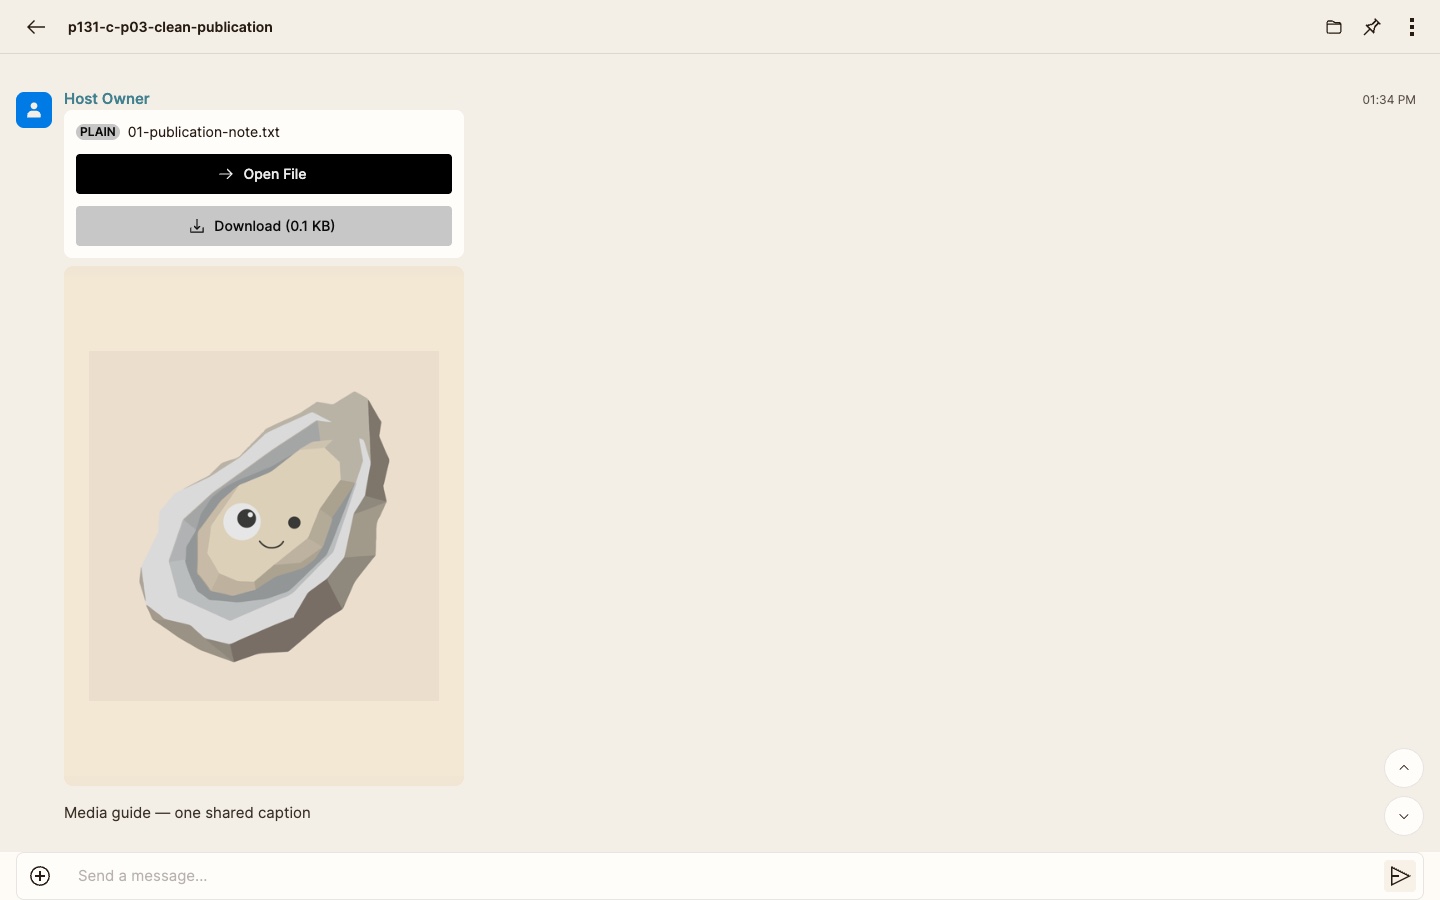
Inspect full-size screenshot
- Choose Attach files and select all intended files in one picker, or return to Attach files until every item is in the same draft.
- Open the Files panel and read the cards from first to last. This is the order the sent group should keep.
- If the set or order is wrong, use Cancel Upload for an item or Remove All, then select the files again in the intended order before sending.
- Type one optional caption in the composer. It is shared by the whole group.
- Choose Send message once. While the send is running, Oysterun may show Uploading N staged files for Send....
4. Inspect the sent items
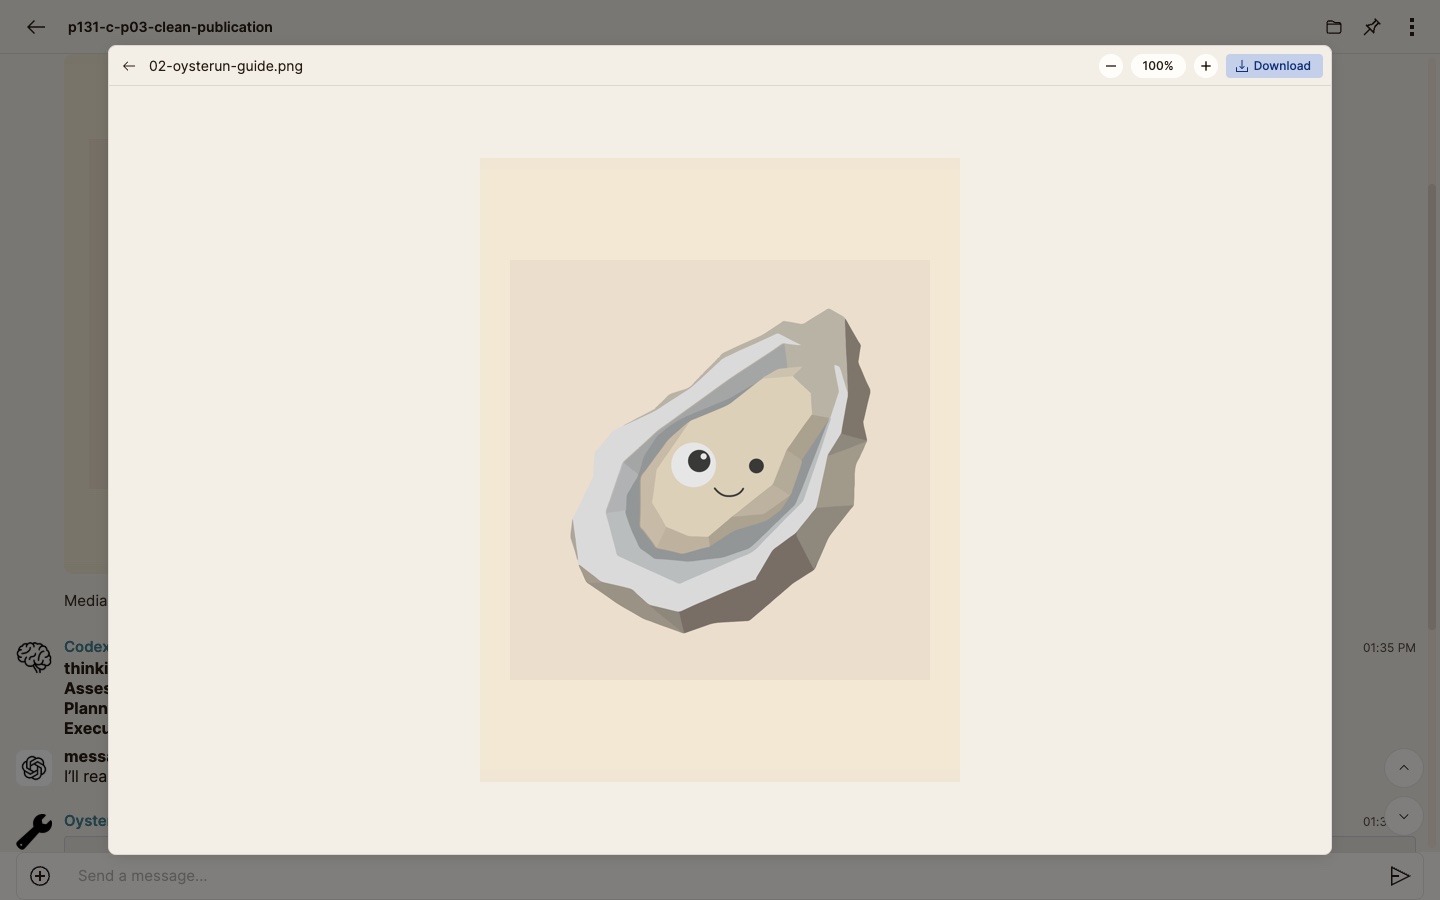
Inspect full-size screenshot
- Find the message you just sent in the Session timeline.
- For an image, choose View if Oysterun has not loaded it yet. Then select the displayed image to open the image viewer.
- Use the visible viewer controls as needed:
- Zoom Out
- Percentage
- Zoom In
- Download
- Confirm that the image keeps the subject and proportions of the selected file. The viewer may be showing the bounded upload rather than the full-size original.
- For video or audio, use its playback control. For a downloadable attachment, use the download-arrow control beside its filename.
- For a group, check every item from first to last, then confirm that the caption appears only once below the group.
5. Understand display size and downloaded bytes
For a supported static JPEG, PNG, or WebP larger than the display bound, Oysterun can make the long edge no more than 1280 pixels, preserve the aspect ratio, and avoid upscaling. Lossy JPEG or WebP output uses a normal display-quality target near 0.75. If the result would not be smaller or the conversion is unsafe, Oysterun keeps the original upload instead.
Each image in a multi-file group is handled independently. One item can use a bounded display version while another keeps its original bytes; the group order and one-caption behavior do not change.
6. Recover safely when upload or display fails
- File uploads unavailable: wait for the Session and media configuration to finish loading, then reopen the same Session once. If the control stays unavailable, stop and ask the Host manager to check file-upload availability.
- The file exceeds the limit: use Cancel Upload, Remove, or Remove All, then choose a smaller permitted file. Do not keep pressing Send with the same over-limit draft.
- Media send failed: reload the same chat once and inspect the timeline before retrying. If the message already exists, do not resend it. If it is absent and the draft remains, retry once after the connection settles.
- Failed to load image: choose Retry once. If it still fails, use the available download control or stop; repeated sends do not repair the stored media.
- The group is split, reordered, or repeats the caption: reload once and inspect the same sent message. If the problem remains, preserve the visible result and stop instead of sending the files again.
7. Finish the check
- Close the image viewer with its left-arrow control or return to the Session timeline.
- Confirm that the message is still one item in the timeline, even when it contains several attachments.
- Confirm the attachment order, the single caption, and whether the stored image may be a bounded display version.